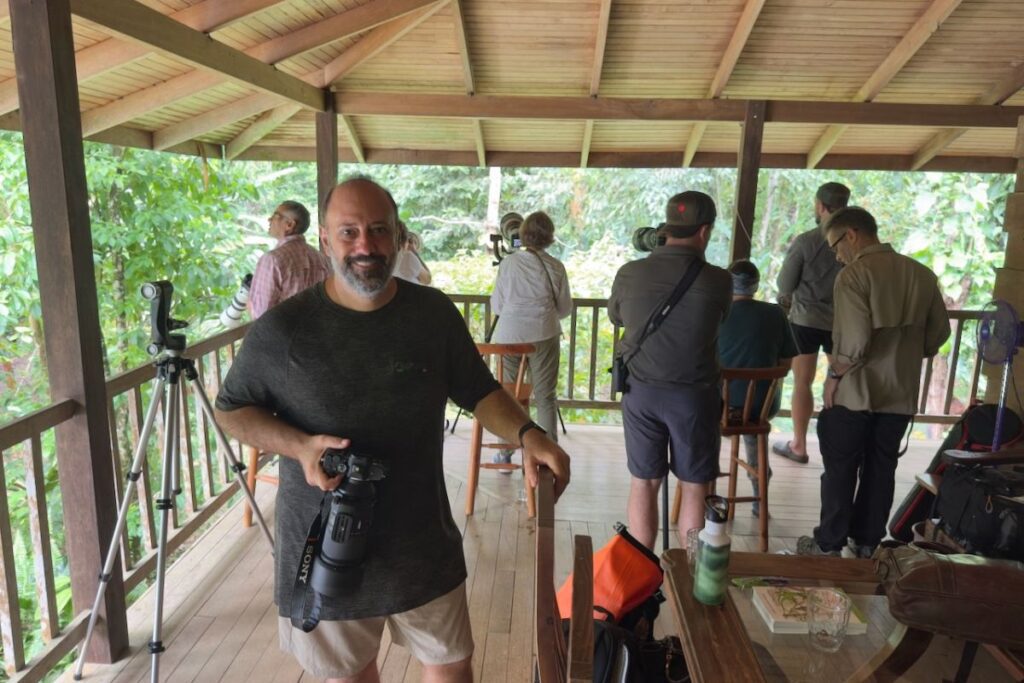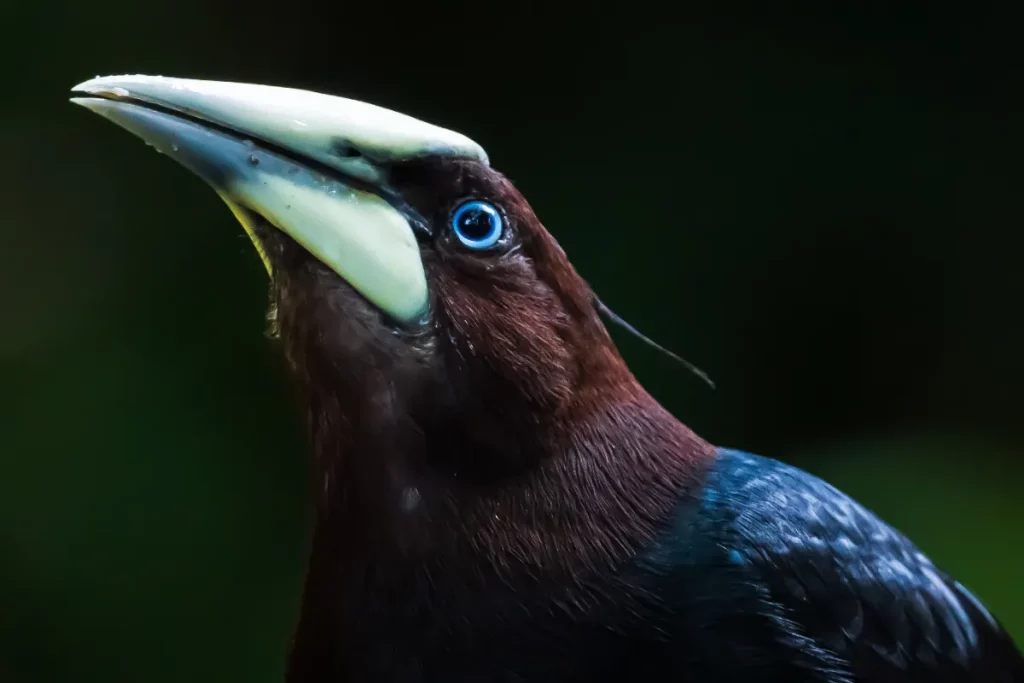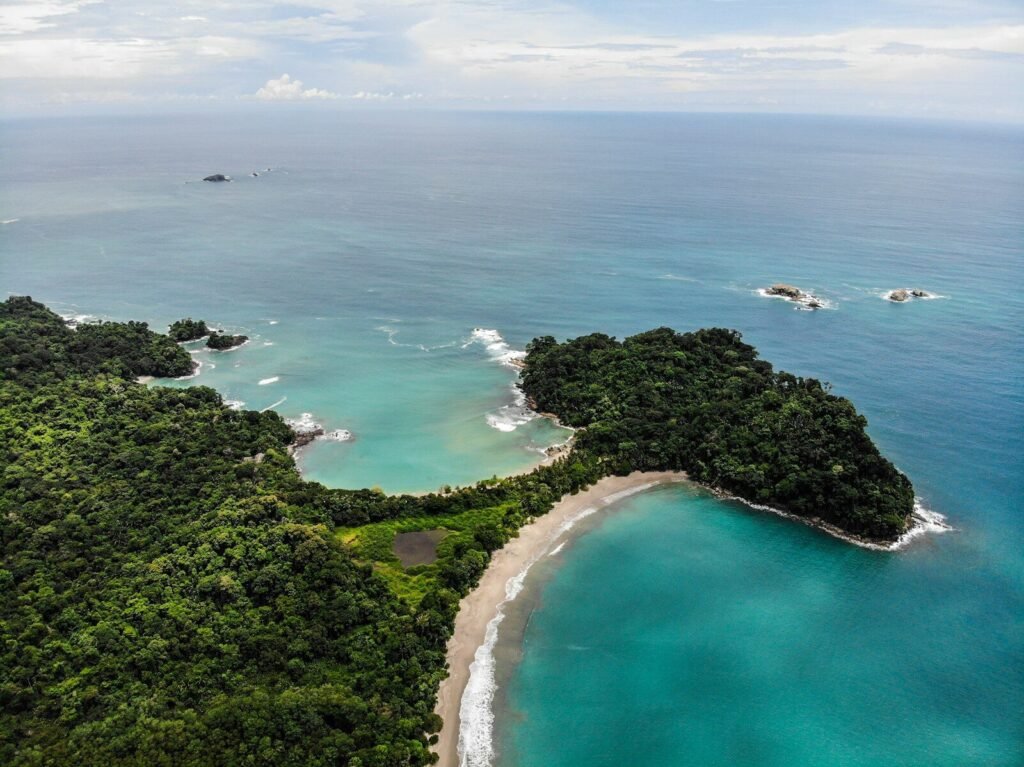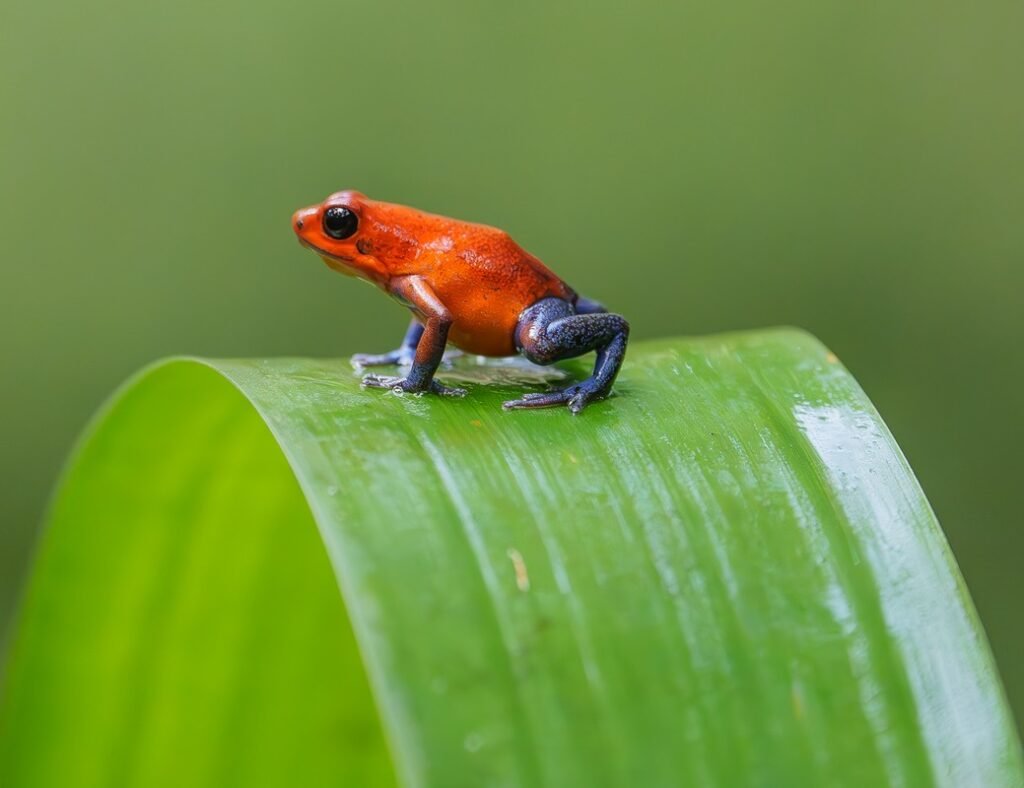

Rainforest macro photography in Costa Rica is most productive when the trip is designed around small subjects from the beginning—not treated as an hour-long activity added to a birding itinerary. Frogs, snakes, insects and other rainforest details require different destinations, timing, field guides, lighting equipment and working distances from birds or mammals. Many of the strongest opportunities also begin after dark.
This field guide explains how to prepare for those sessions, which techniques work in humid tropical forests and how Physis Photo Tours selects locations for photographers who want more than a checklist of sightings.
Species and photographic conditions can never be guaranteed. Rainfall, temperature, breeding activity, recent observations and natural behavior influence every session. The goal of a well-designed private program is to improve the quality of the opportunity while allowing the animal to behave naturally.
1. Why Costa Rica Works So Well for Rainforest Macro Photography
Costa Rica allows photographers to move between Caribbean lowland rainforest, northern wetlands, volcanic foothills, cloud forest transitions and Pacific habitats within a relatively compact journey. Each elevation and rainfall pattern supports a different community of amphibians, reptiles and invertebrates.
The country is especially rewarding after sunset. A trail that appeared quiet during the afternoon can reveal tree frogs calling near water, glass frogs beneath streamside leaves, sleeping anoles, arboreal snakes, katydids, beetles, moths and spiders. This is not simply daytime photography with less light. At night, the photographer must manage a headlamp, camera, flash, diffuser, wet footing and a subject that may be only a few centimeters long.
A general nature walk is designed to keep moving and show participants as much as possible. A photography session must do something different: control the number of people around the subject, protect working space, assess the background, choose a safe angle and allow enough time to refine light without repeatedly disturbing the animal.
This is why local field knowledge matters. Finding a frog is only the first step. The guide must also understand the trail, the animal’s behavior and the safe distance; the photographer must recognize whether the opportunity is suitable for a close portrait, an environmental frame or no photograph at all.
2. Equipment, Flash and Starting Settings for Night Macro
A dedicated 90–105mm macro lens is the most versatile starting point for frogs and insects. It provides useful working distance while still allowing true close-up detail. A shorter macro lens can work in controlled or wider environmental situations, but it places the front element closer to the subject. A 70–200mm, 100–400mm or close-focusing telephoto is often the better and safer tool for snakes, larger reptiles and skittish butterflies.
A practical rainforest macro kit
- One camera body with familiar manual controls
- A 90mm, 100mm or 105mm macro lens
- A close-focusing telephoto when reptiles are a priority
- One external flash and a large, stable diffuser
- A small LED light or modeling light for focusing
- A headlamp with a low-output setting
- Spare flash batteries and camera batteries
- Rain cover, microfiber cloths and a dry bag
- Knee protection or a compact ground mat for low subjects
- A second camera body when possible, reducing lens changes in humidity
For many photographers, one well-diffused flash is more practical on a forest trail than a complicated multi-light rig. Dual or off-camera flash can create more directional, three-dimensional light, but only when it can be positioned safely without touching vegetation, blocking the trail or extending the session unnecessarily.
Useful starting settings
| Situation | Starting point | What to adjust |
|---|---|---|
| Handheld frog portrait with flash | Manual exposure, 1/160–1/250 sec, f/8–f/11, ISO 200–800 | Stay within your camera’s flash-sync limit; change flash power or ISO according to distance and background |
| Tiny insect at high magnification | 1/160–1/250 sec, f/8–f/13, ISO 400–800 | Depth of field becomes extremely narrow; keep the sensor plane aligned with the most important details |
| Snake or larger reptile | 1/200 sec or faster, f/5.6–f/9, Auto ISO or ISO 400–1600 | Use more working distance and choose the lens according to the guide’s safety direction |
| Environmental night portrait | 1/30–1/100 sec, f/5.6–f/8, ISO 800–3200 with low flash power | Balance ambient light with flash and stabilize your body; do not lengthen the session if the subject becomes active |
These are starting points, not fixed recipes. The correct exposure depends on magnification, distance, diffuser efficiency, sensor performance, subject reflectivity and whether the background should appear black, green or naturally illuminated.
Focus, depth of field and backgrounds
At close distances, depth of field can be measured in millimeters. For a side-on frog, align the camera with both eyes whenever possible. For a three-quarter portrait, prioritize the nearest eye and accept that every part of the animal will not be sharp. Continuous autofocus can work for moving subjects, while manual focus combined with a controlled forward-and-back movement is often effective at higher magnification.
Before pressing the shutter, inspect the frame edges and the space behind the subject. Moving the camera a few centimeters can remove a bright stem, separate the eye from a leaf edge or replace a black flash background with distant vegetation. Reposition the photographer—not the animal or its perch.
Humidity is as important as exposure. When leaving an air-conditioned room or vehicle, keep the camera sealed in its bag until it approaches the outdoor temperature. This reduces condensation on and inside the equipment. Avoid changing lenses in rain or beside a stream, and allow equipment to dry with airflow after returning to the lodge. Our broader Costa Rica photography tour preparation guide includes additional packing and humidity advice.
3. Photographing Frogs, Snakes and Insects Responsibly
The technical photograph never takes priority over the subject. Amphibians can have sensitive skin, snakes require trained observation and safe working distances, and repeated flash or crowding may alter an animal’s behavior. Physis sessions follow the instructions of experienced local guides and the rules of each reserve.
Frogs: work at eye level and watch the skin
Red-eyed Tree Frogs, glass frogs and poison dart frogs create very different photographic problems. Tree frogs may be above eye level on leaves near water. Glass frogs are small and often associated with stream vegetation, where footing and equipment protection matter. Poison dart frogs may move rapidly through leaf litter during daylight, requiring a lower angle and careful attention to foreground debris.
Keep hands, clothing and equipment away from the animal. Do not spray a frog with water, reposition it or strip vegetation to obtain a cleaner background. If the frog changes posture repeatedly, turns away, attempts to escape or the guide ends the encounter, the session is over.
Snakes: working distance comes before magnification
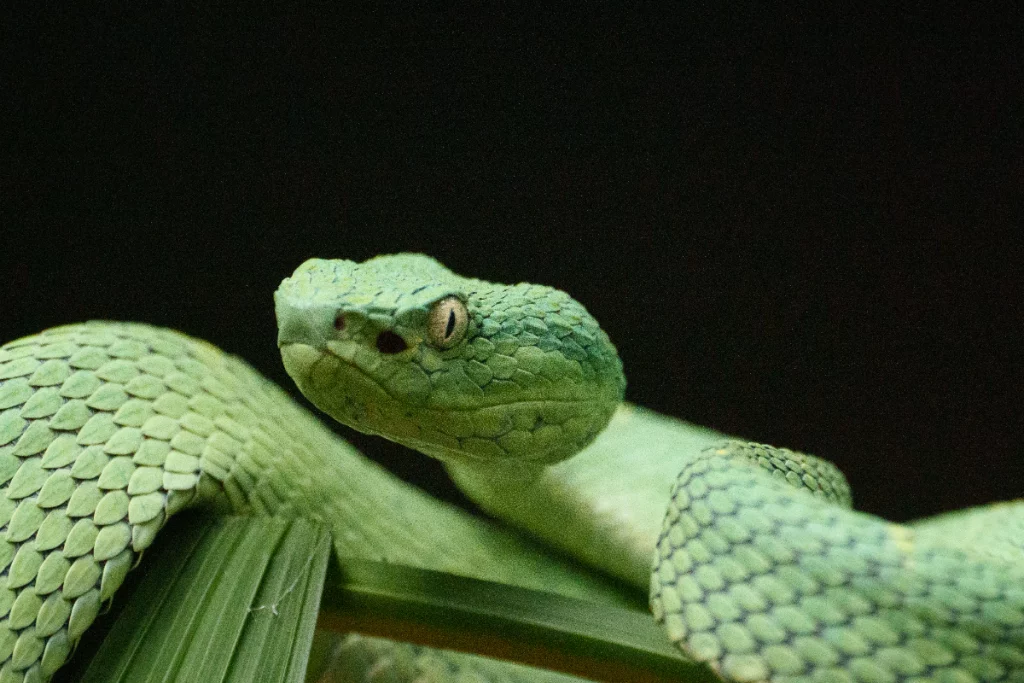
An Eyelash Viper may appear small through the viewfinder, but a close photograph does not require a close photographer. Use a longer focal length, remain on the side of the trail selected by the guide and never surround the animal. Avoid stepping backward without checking the ground and vegetation first.
A portrait of the eye and scales can be compelling, but an environmental composition showing the snake within heliconia, moss or rainforest structure may communicate more about the encounter. The safest lens and angle are determined by the species, its position and the guide—not by a predetermined shot list.
Insects and arachnids: anticipate movement
Leaf-cutter ants, katydids, beetles, moths, mantises and spiders reward photographers who observe before moving closer. Identify a repeated path, feeding behavior or resting position. Pre-focus on the point where the subject is likely to pass and compose with enough space for antennae, legs or wings.
Focus stacking is useful for motionless botanical subjects and, in limited circumstances, inactive invertebrates. It is rarely the first choice for an alert frog or a moving insect. A single well-timed frame with the eye sharp and a controlled plane of focus is usually more realistic in the field.
- Never handle or reposition wildlife for a photograph
- Limit the number of photographers working at one time
- Use the lowest flash output that produces the required result
- Pause if the animal changes behavior
- Do not damage leaves, branches or stream banks to clear the frame
- Follow the local guide’s decision even when it means leaving without the photograph
4. Best Costa Rica Destinations for Macro Photography
The best location depends on the subjects you prioritize and the time of year. Physis does not select a destination because it is famous; it evaluates current access, local field knowledge, habitat, travel time and how the location connects with the rest of the itinerary.
| Destination | Macro strengths | Best use in an itinerary | Field consideration |
|---|---|---|---|
| Sarapiquí | Tree frogs, glass frogs, poison dart frogs, arboreal reptiles and diverse insects | A central base for daytime forest work and specialist night walks | High humidity, rain and dark forest backgrounds |
| Guápiles | Caribbean-slope frogs, snakes, insects and highly productive private photography locations | Focused sessions that complement Sarapiquí or connect the central region with the Caribbean | The exact property and local specialist matter more than the town name |
| Boca Tapada | Amphibians, snakes, nocturnal insects and broader lowland wildlife | Two or three nights in a remote rainforest setting, often combined with birds or bats | Transfer time makes a one-night visit inefficient |
| Bijagua | Frogs, reptiles, insects and rainforest subjects influenced by Caribbean and Pacific weather systems | A contrasting northern rainforest base that combines macro with wider wildlife photography | Rain and local microclimates require flexible session planning |
Sarapiquí and Guápiles: two complementary Caribbean-slope bases
Sarapiquí combines accessible lowland rainforest, private reserves and experienced local naturalist guides. Daylight sessions can focus on poison dart frogs, leaf-cutter ants, butterflies and forest details; evening sessions shift toward tree frogs, glass frogs, snakes and nocturnal invertebrates.
Guápiles adds a different network of private locations and specialists along the Caribbean slope. It should not be treated as an interchangeable extension of Sarapiquí: the specific property, habitat, elevation and recent field observations determine which session is most valuable. Together, the two regions create a strong macro corridor without requiring an excessively long transfer. Read our guide to wildlife photography in Sarapiquí and Guápiles.
Boca Tapada: remote rainforest with room to slow down
Boca Tapada is valuable because a photographer can combine macro sessions with lowland birds, mammals and specialized night photography without returning to a heavily visited tourism center. Private trails and local daily observations improve the ability to respond to current activity. Because the region is remote, Physis normally treats Boca Tapada as a multi-night destination rather than a quick excursion.
Bijagua: a contrasting northern rainforest
Bijagua sits within a complex transition influenced by northern, Caribbean and Pacific weather patterns. Rainforest, streams, gardens and forest edges can support productive sessions with frogs, reptiles and insects, while the surrounding region also provides broader wildlife and landscape possibilities. Bijagua works particularly well when the photographer wants a second rainforest environment that feels different from the Caribbean lowlands.
Sarapiquí, Guápiles, Boca Tapada and Bijagua are the central destinations in many Physis macro programs, but they are not the only places where macro photography is possible. Frogs, reptiles, insects, flowers, fungi and other small subjects can be photographed in many regions of Costa Rica. Physis may incorporate macro sessions elsewhere when the habitat, local access and wider itinerary make them worthwhile; the four central destinations are emphasized because they can support a more deliberate concentration of sessions and specialist field knowledge.
Rainforest macro photography is possible throughout the year. The green season generally brings lush vegetation and increased amphibian activity, while drier periods can simplify trail access and equipment management. Costa Rica’s Caribbean and Pacific rainfall patterns do not match perfectly, so dates must be evaluated against the proposed route rather than a single national “best month.”
5. How Physis Designs a Private Costa Rica Macro Photography Trip
A macro-focused journey begins with the photographs you want to make. Physis Photo Tours asks about target subjects, experience with flash, preferred working pace, physical considerations, travel dates, available days, accommodation expectations and the interests of any non-photographing companion.
The answers determine whether macro should be the central purpose of the trip or one strong component within a broader private wildlife itinerary.
Three useful itinerary formats
- Five to seven nights: Sarapiquí and Guápiles, or one of those regions combined with Bijagua, with fewer transfers and repeated night sessions. Best for a concentrated frog, reptile or technique-focused journey.
- Eight to ten nights: Sarapiquí and Guápiles plus Boca Tapada or Bijagua, with enough time for daylight macro, several night walks and complementary birds or mammals.
- Eleven to fourteen nights: a deeper program connecting all four central destinations or three of them with another contrasting Costa Rica region, creating weather flexibility and a broader wildlife portfolio.
A private format is particularly valuable at night. The session can begin when conditions become productive, remain with a cooperative subject when appropriate and finish when the animal, weather or photographer indicates that it should. There is no group checklist forcing the photographer to leave a strong opportunity or continue after concentration has declined.
Physis also coordinates the practical details that determine whether the technique can be used successfully: a guide who understands the target subjects, transportation after a late session, accommodation close enough to the trail, charging capacity for flash batteries, space to dry equipment and a route that does not require a pre-dawn departure after every night walk.
Explore our dedicated Costa Rica macro photography tours or review the broader range of private photography sessions available with Physis.
To receive a useful itinerary recommendation, send us your preferred dates, available days, priority subjects, camera and macro lenses, flash experience, physical pace, companion needs and preferred accommodation level. Physis can then select the destinations, local guides and session sequence that best fit your photographic goals.
Frequently Asked Questions
What is the best lens for rainforest macro photography in Costa Rica?
A 90mm, 100mm or 105mm macro lens is the most versatile choice for frogs and insects because it combines close focusing with useful working distance. A close-focusing 70–200mm or 100–400mm lens is often safer and more practical for snakes, larger reptiles and skittish butterflies.
Do I need a flash for frog and insect photography at night?
Usually, yes. A well-diffused external flash provides enough light to obtain detail and depth of field in a dark rainforest. Use modest flash power, avoid prolonged sessions and stop if the guide observes a change in the animal’s behavior.
Where is the best place for frog photography in Costa Rica?
Sarapiquí, Guápiles, Boca Tapada and Bijagua are the four central destinations used in many Physis macro programs. Each offers different habitats, local specialists and routing advantages. Macro photography is also possible in many other Costa Rica destinations when conditions and the itinerary support it.
When is the best time for macro photography in Costa Rica?
Macro photography is possible year-round. Rainier months often increase amphibian activity and produce lush backgrounds, while drier periods may make trail access and equipment management easier. The best dates depend on the region and subjects rather than one national season.
Are Costa Rica macro photography tours suitable for beginners?
Yes. Beginners can learn flash exposure, focusing and composition during private sessions, while experienced photographers can work on advanced lighting and specific subjects. The itinerary and level of field instruction should be adapted before the trip.
Can I combine macro photography with birds and other wildlife?
Yes. An eight- to fourteen-night private itinerary can combine dedicated macro and night sessions with birds, bats, mammals and wetland wildlife. The route should protect enough time for macro instead of treating it as an optional activity at the end of a general tour.