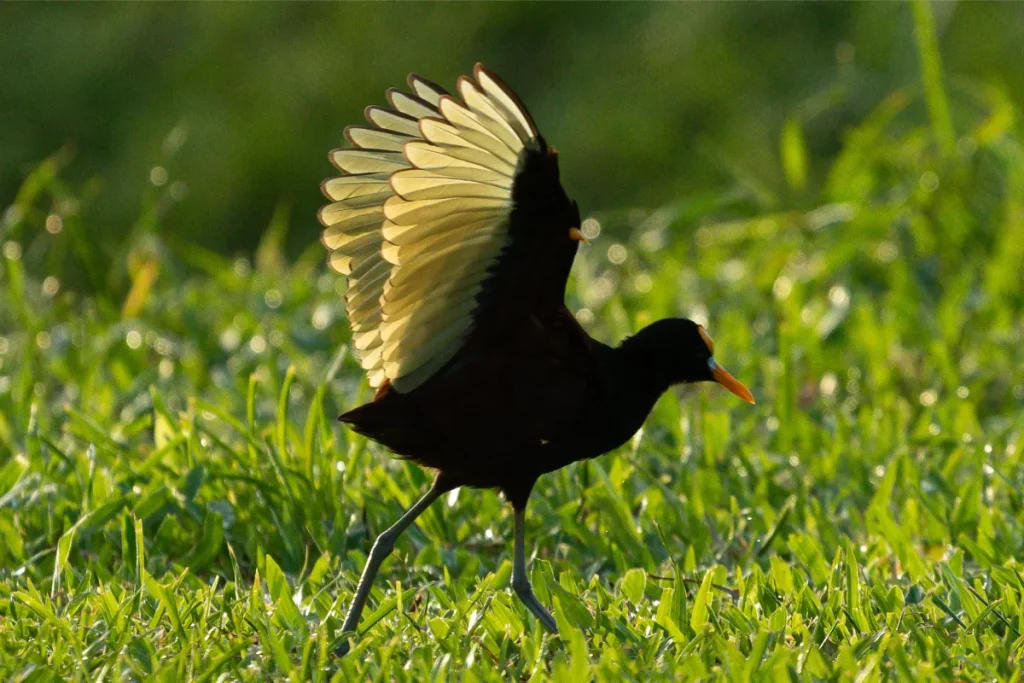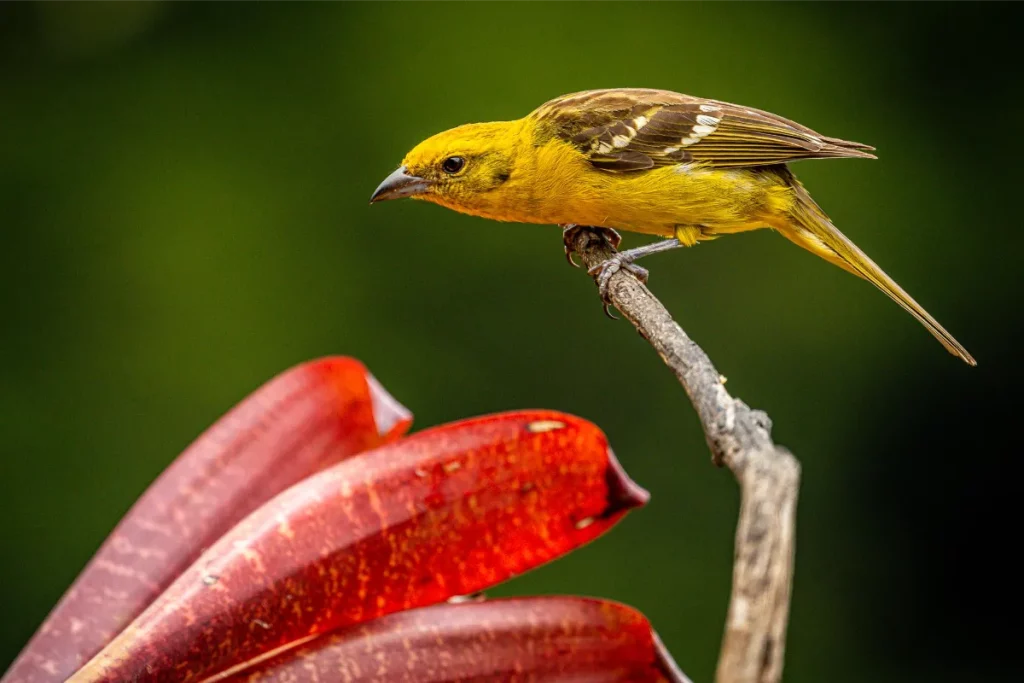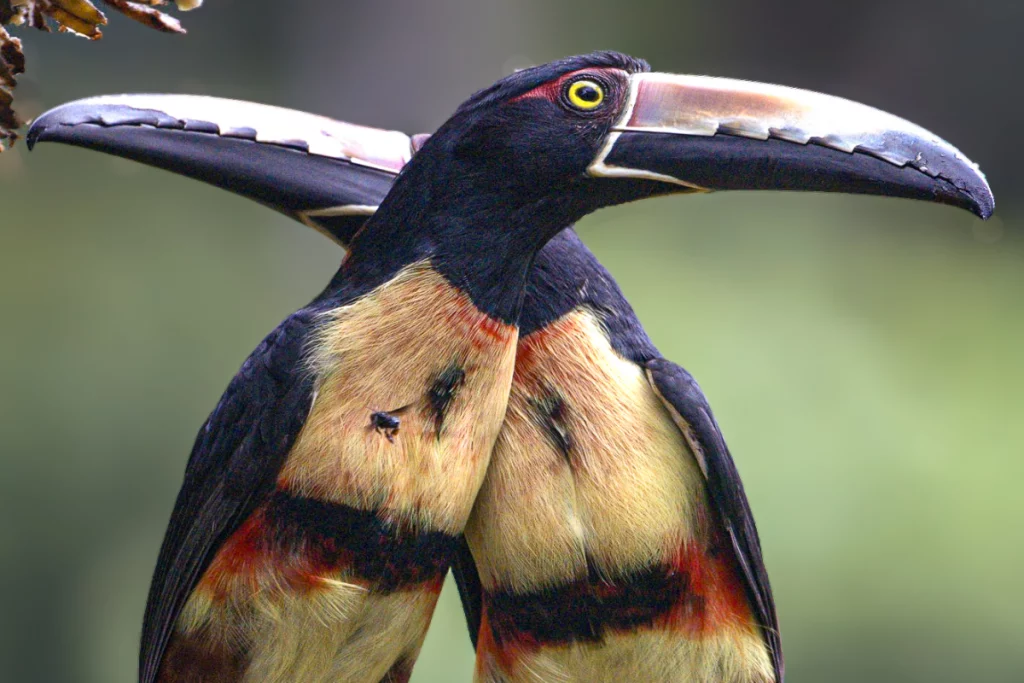

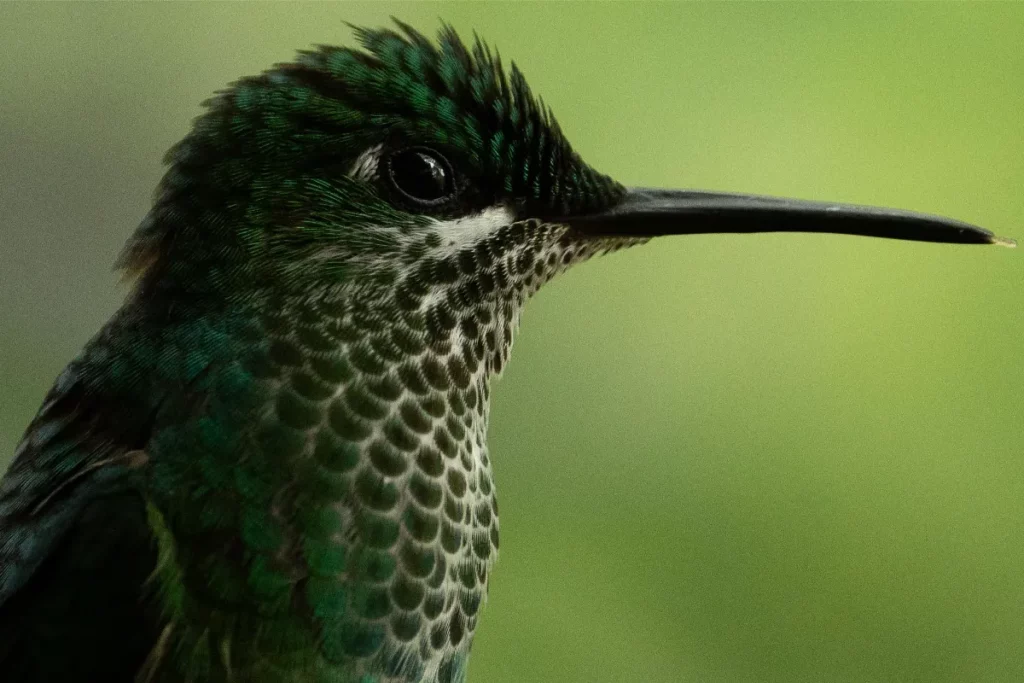
Hummingbird wings move too fast for natural light. Even at 1/4000s, ambient-light photographs show blur at the wingtips — sometimes beautiful, but never a choice. Multi-flash photography gives you that choice back: the flash burst, not the shutter, freezes the motion, and the results show feather detail no other technique can capture.
This guide comes from real multi-flash sessions we operate in Costa Rica at Physis Photo Tours. It covers the camera settings, the flash logic, the focus technique, and the problems you will actually face in the field.
The Short Answer
Multi-flash hummingbird photography uses several flash units at low power to freeze a hummingbird in flight. The camera is set to its flash sync speed with a mechanical shutter, a closed aperture, and moderate ISO — typically 1/200s, f/11 to f/13, ISO 320. Because the flash burst lasts around 1/10,000s, it is the flash duration, not the shutter speed, that freezes the wings.
Why Multiple Flashes at Low Power
The core principle is counterintuitive: lower flash power means shorter flash duration. At 1/32 to 1/16 power, a flash burst is fast enough to freeze wingbeats — but one flash at that power cannot light the scene alone. That is why the setup uses several units: typically lighting the bird from more than one angle, plus the background. Each flash contributes a small, extremely brief pulse; together they produce a fully lit, motion-frozen image.
Camera Settings That Work
- Shutter: 1/200s, mechanical. Use your camera’s mechanical shutter, not the electronic one. Electronic shutters read the sensor line by line and interact badly with flash bursts, producing dark bands across the frame.
- Aperture: f/11 to f/13. Depth of field is your margin of error on a subject that moves in three dimensions.
- ISO: 320 as a base. Adjust from there according to your flash-to-subject distances.
- Single shot, RAW. Burst mode fights the flash recycle time; one deliberate frame per visit outperforms a spray.
- Exposure simulation: off. With these settings, ambient light barely registers — if your mirrorless viewfinder simulates exposure, you will see a nearly black frame even though the flash exposure is correct. Every brand names this differently (Canon: Exposure Simulation; Sony: Live View Display – Setting Effect; Nikon: Apply Settings to Live View; Fujifilm: Preview Exposure in Manual Mode). Turn it off before the session.
Focus Technique: Lock It, Then Leave It
Autofocus hunts on a subject this small and this fast. The reliable method is a two-step: use single-point AF (AF-S) to focus precisely on the zone where the bird will feed or hover, then switch the lens to manual focus to lock that distance. From that moment, your job is timing, not focusing. If the bird feeds a few centimeters off your plane, your f/11–f/13 depth of field absorbs it.
Field Etiquette
Multi-flash setups are shared, living workplaces. Keep your movements slow around the set, never rearrange flashes or perches without the session leader, and let the birds set the rhythm — they feed in cycles, and patience between visits is part of the craft. Low-power flash pulses are the industry standard for this work precisely because they are brief and dim compared to full-power flash; respecting feeding cycles and session protocols keeps it that way.
Troubleshooting in the Field
- Dark bands across the frame: you are on the electronic shutter. Switch to mechanical.
- Viewfinder almost black: exposure simulation is on. Turn it off — your flash exposure is fine.
- Soft focus on every frame: the lens is still hunting in AF. Re-focus on the feeding zone with AF-S, then lock to manual.
- Wings frozen but image underexposed: do not raise flash power first — you will lengthen the burst and lose the freeze. Move flashes closer or raise ISO moderately.
Where to Practice: Why Costa Rica
Technique needs subjects, and Costa Rica has recorded more than 50 hummingbird species across its habitats — from highland gems to lowland residents. On our Costa Rica bird photography tours, multi-flash sessions come pre-built: the flashes, backgrounds, and feeding stations are already dialed in, so your learning curve starts at the interesting part — light, composition, and timing. If this technique is the reason for your trip, see our dedicated hummingbird multi-flash photography sessions, or start the conversation about a private Costa Rica photography tour built around it.
Frequently Asked Questions
What is multi-flash hummingbird photography?
It is a technique that uses several flash units at low power to freeze a hummingbird in flight. Because a flash burst at 1/32 to 1/16 power lasts around 1/10,000 of a second, the flash — not the shutter — stops the wing motion, revealing feather detail that natural-light photography cannot capture.
What camera settings should I use for multi-flash hummingbird photography?
Start with a mechanical shutter at 1/200s, aperture between f/11 and f/13, and ISO 320, shooting single frames in RAW. Turn off exposure simulation on mirrorless cameras, focus once on the feeding zone with single-point AF, then lock the lens in manual focus.
Does flash photography harm hummingbirds?
Multi-flash work uses very low power settings, which produce pulses far briefer and dimmer than full-power flash. Responsible sessions also follow strict field etiquette: respecting feeding cycles, keeping movement calm, and letting the birds set the rhythm. As with all wildlife photography, the welfare of the subject comes before the image.
Do I need to buy a multi-flash setup to try this technique?
Not necessarily. Building your own rig takes several flash units, stands, triggers, and time to dial in. On a guided session — like those on Costa Rica bird photography tours — the setup is already built and calibrated, so you can learn the technique with your own camera before investing in equipment.
Is multi-flash hummingbird photography suitable for beginners?
Yes, especially on a pre-built setup with field guidance. The camera settings are fixed and simple, focus is locked in advance, and the real skills — timing and composition — develop quickly with a good instructor and active feeders.